This guide contains steps for setting up two NODE Clusters based on Workgroups. When Hyper-V Hosts are not joined to the domain, Microsoft Failover Cluster only supports “Quick Migration” and cannot perform Live Migration.
This guide also assumes that you have the following infrastructure Ready!
- Host1 and Host2 are installed with Windows Server 2022
- Synology Storage is accessible
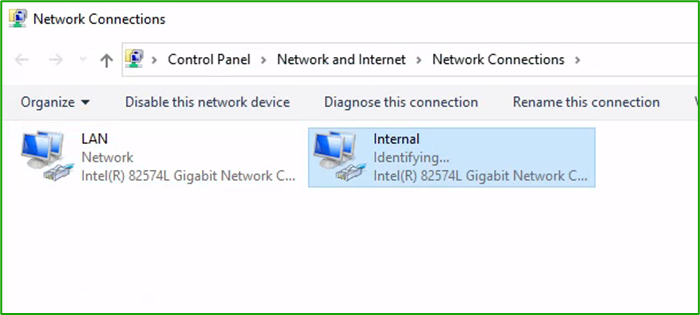
- Each Host contains two Network Cards (LAN, Internal)
- Configure the LAN Interface as per your LAN subnet
- Configure Internal other subnet so Hosts can communicate with each other
- Both hosts are applied with the latest Windows patches
Hyper-V Host preparation
Rename Network Adapters, assign corrected IP Address
For this Lab, I’m using 192.168.80.0/24 for LAN and 192.168.110.0/24 for Internal communication.
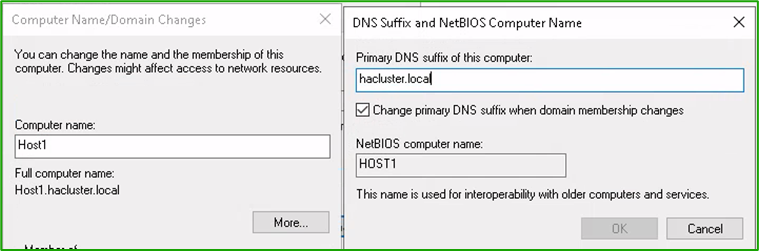
Rename Servers and set up DNS Suffix, I’m using “hacluster.local”.
Hyper-V Role
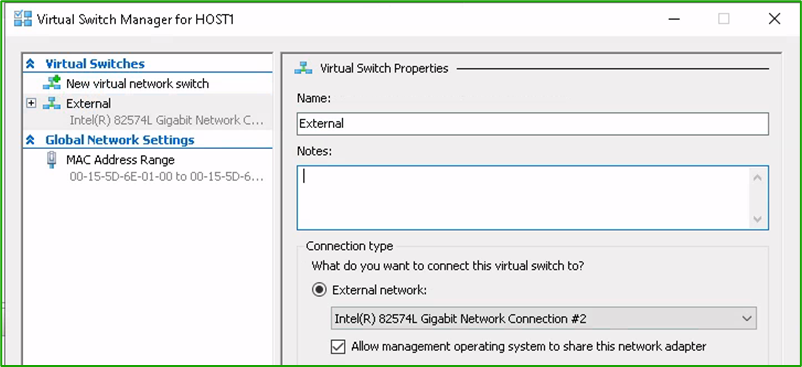
Install Hyper-v Role on both hosts, verify that the correct adapter is selected for creating vSwitch
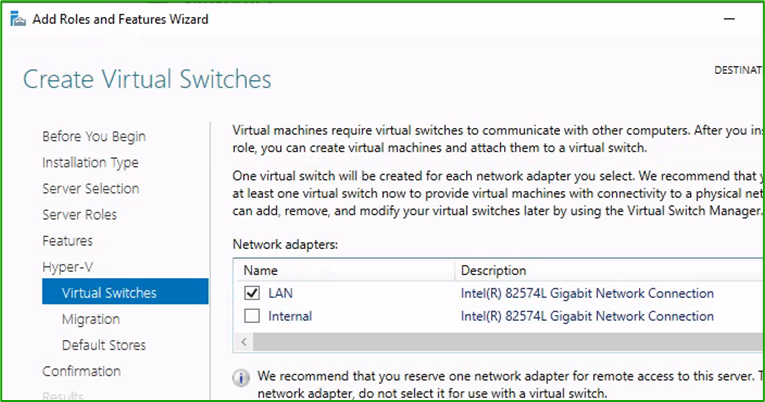
After Hyper-V installation, open Hyper-V Manager, rename Virtual Switch to “External”
Install the Failover Clustering feature on both Hosts

Synology Storage
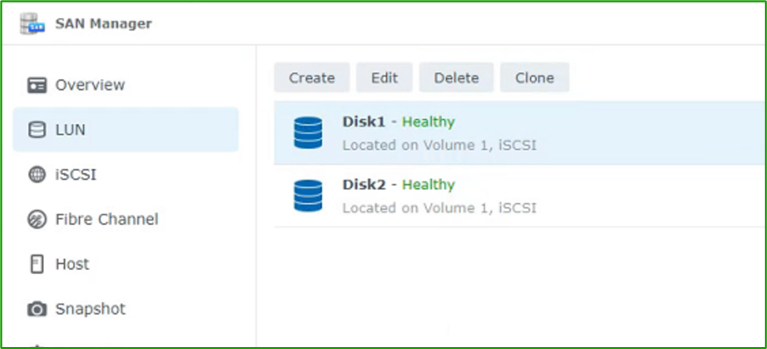
Log into Synology storage, and go to SAN Manager. Create new LUN
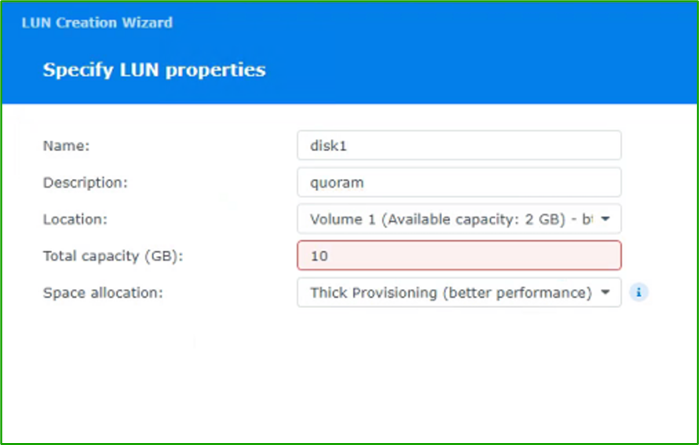
Create the first disk for the quorum, at least 1GB, and set permissions to “Allow all” hosts.
Create a second disk for the VM storage, size dependent on the required and available in Synology set permissions to “Allow all” hosts.
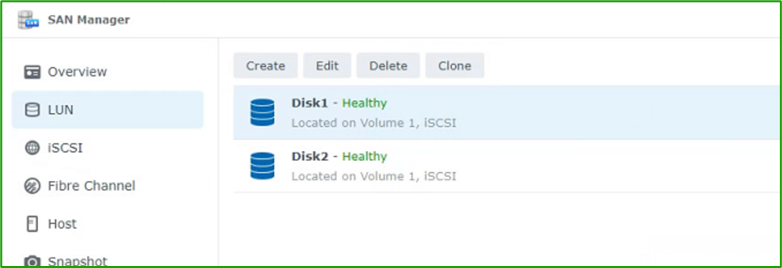
There will be two disks in the SAN Manager
Storage Connectivity
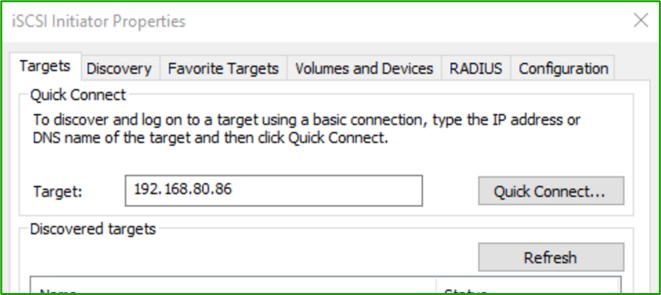
Log into Host1 and open iSCSI initiator. Go to Target and enter IP Address of Synology storage to connect.
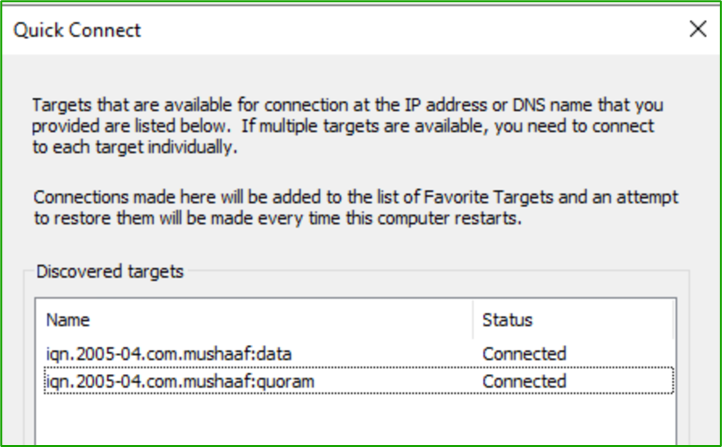
Connect both discovered volumes.
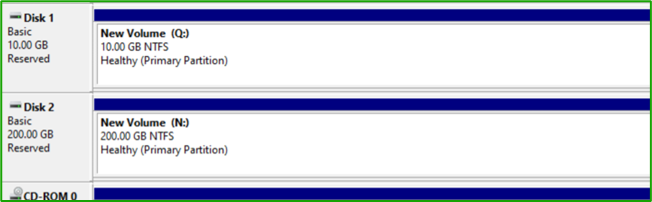
Open Disk Management, initialize both, and assign drive letters, format as NTFS.
Disk1 – Q:
Disk2 – N:
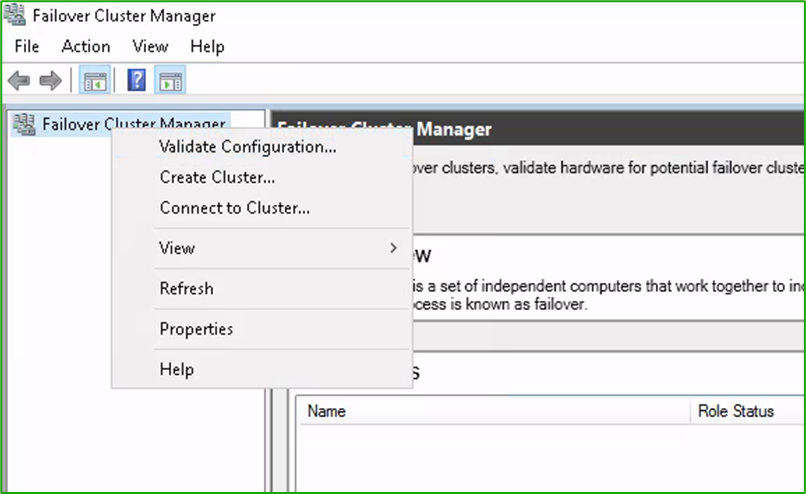
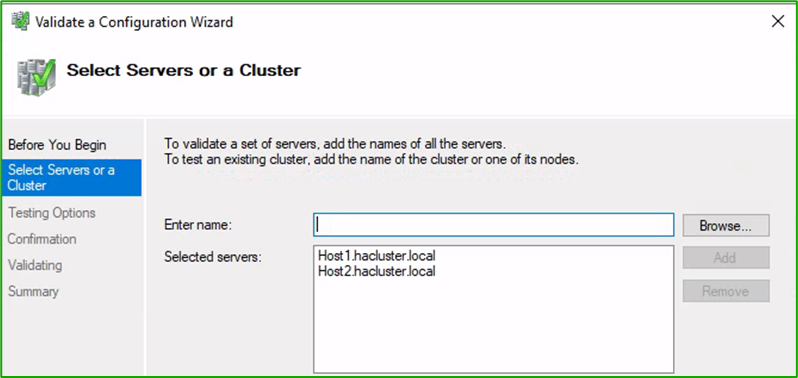
Open Failover cluster Manager on one of the host and Validate configuration
Add both Hosts and Press NEXT to run all tests.
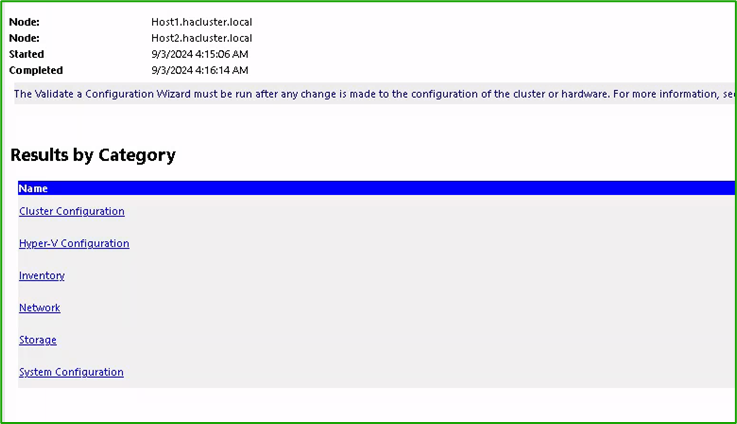
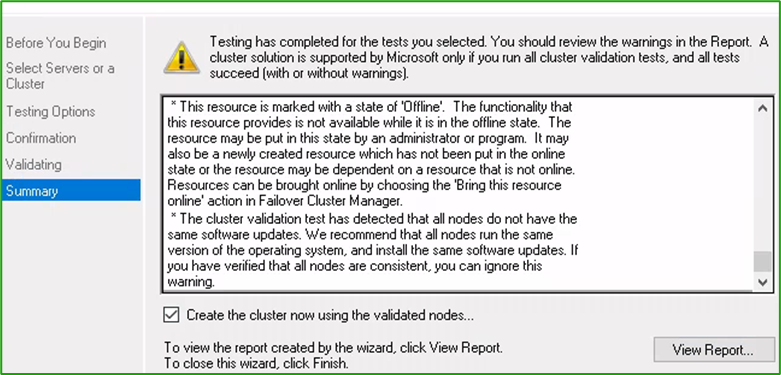
Review the cluster validation report, and verify that there is no error. You can ignore warnings like “Host is not joined to the domain”
After fixing errors, “Create the cluster now using the validated node”.
Specify cluster name, subnet, and any available IP Address at the next screen.

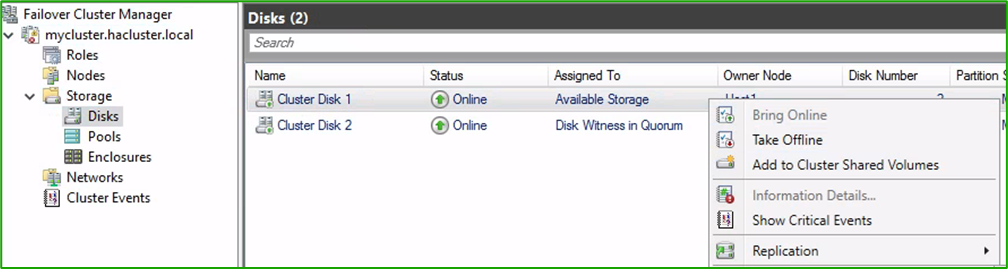
Connect to the cluster, Add data disk to “Cluster Shared Volume”
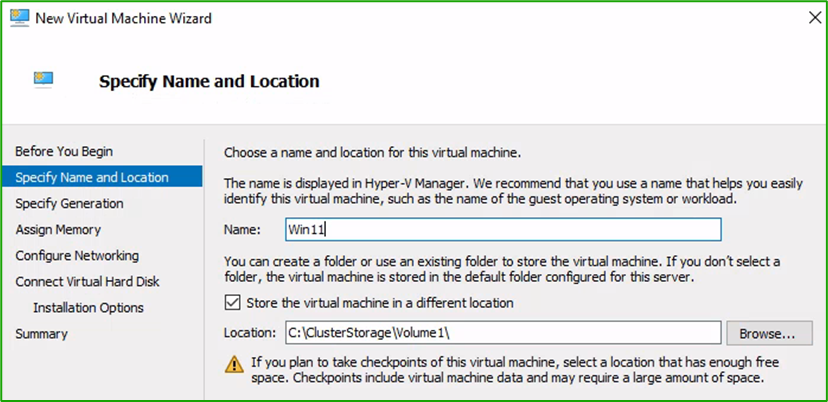
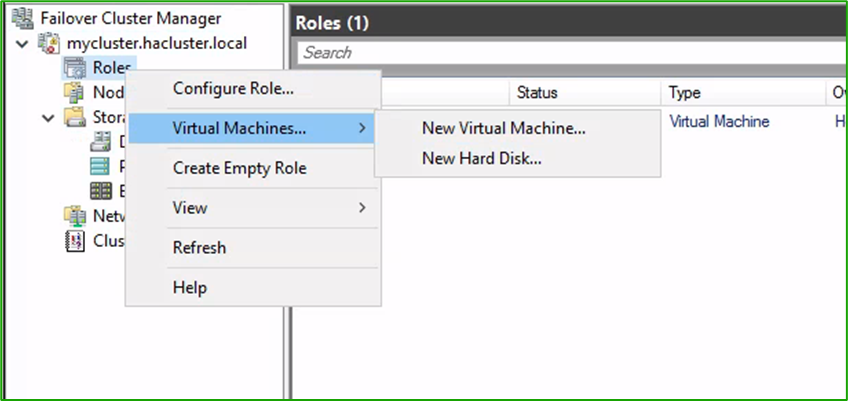
Go to Roles, Select Virtual Machine > Create new Virtual Machine
Specify the location of the Virtual Machine as “C:\ClusterStorage\Volume1”. Install the Operating System as normal.