


An Elastic IP address is a reserved public IP address that you can assign to any EC2 instance in a particular region until you choose to release it.
- Go to EC2 management console using the below URL. https://console.aws.amazon.com/ec2/v2/home?region=us-east-1
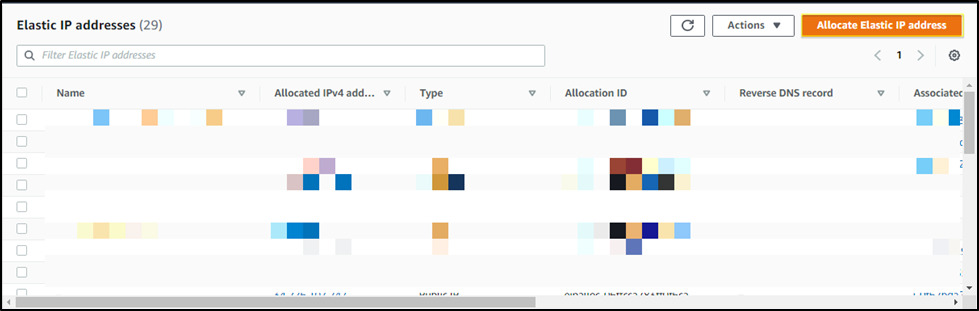
- Select Elastic IPs link from EC2 Dashboard.

3. Select Allocate New Address.
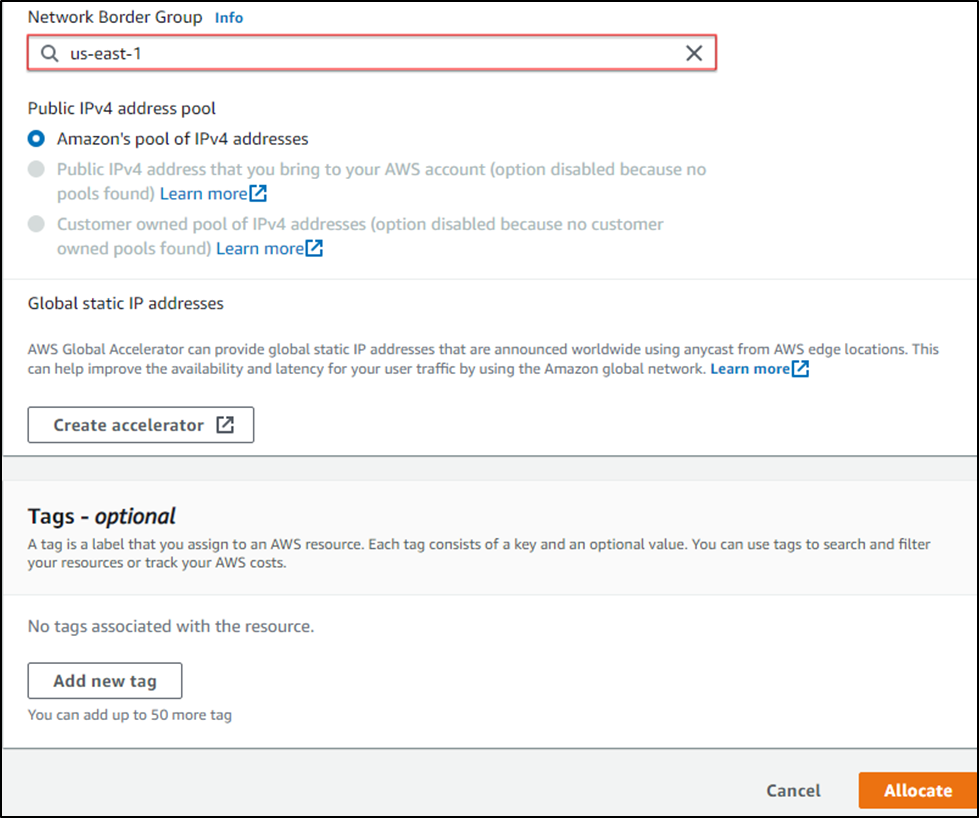
4. Select your desired region (our resources are located in us-east-1) and click on Allocate
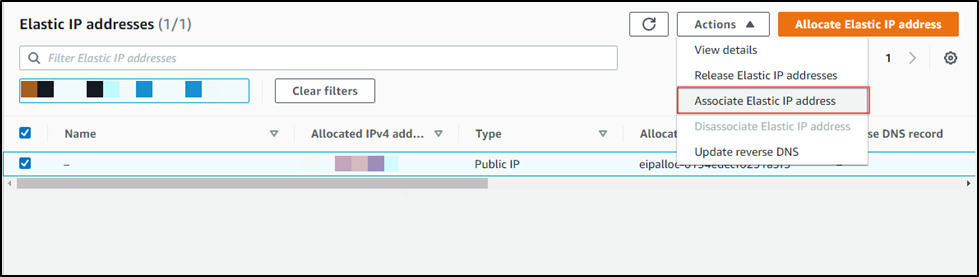
5. A new elastic IP address is now ready to assign. Select it and go to Actions and chose Associate Elastic IP Address
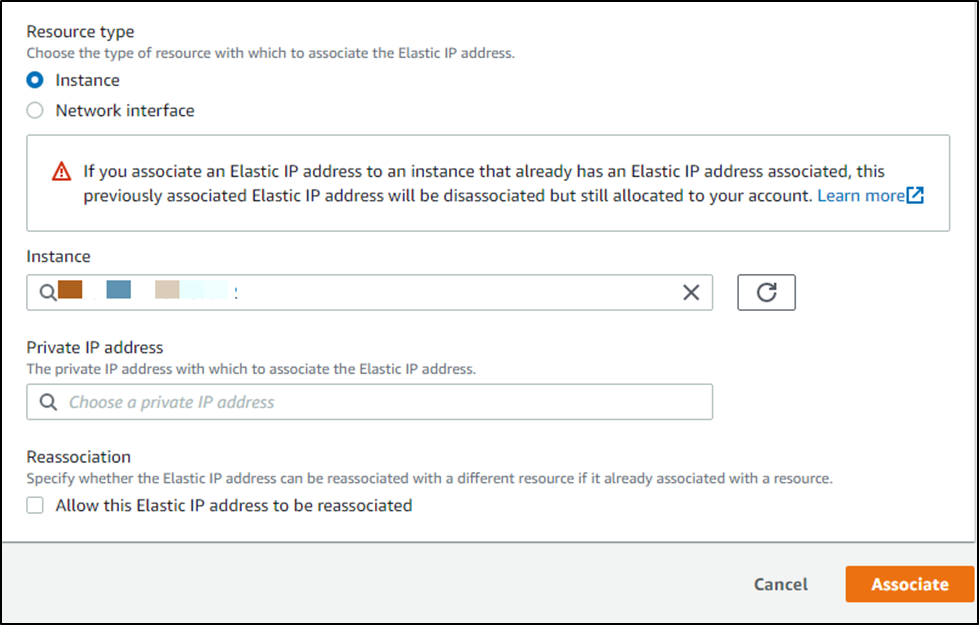
6. Chose resource type as Instance, enter your instance name in and click on Allocate.
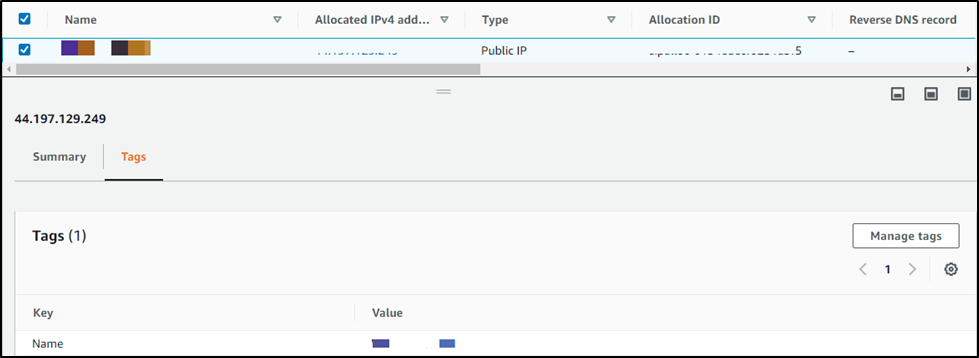
Now select the IP address and go to tags tab in the bottom to assign a proper name to identify which instance has this elastic IP address.
Now, we will be able to RDP the instance using the assigned elastic IP from anywhere in the world.