


- Download your desired version of Microsoft SQL Server.
- Find the file “SQLManagementStudio_x64_ENU.exe” where you placed and Double Click on it to start the installation.
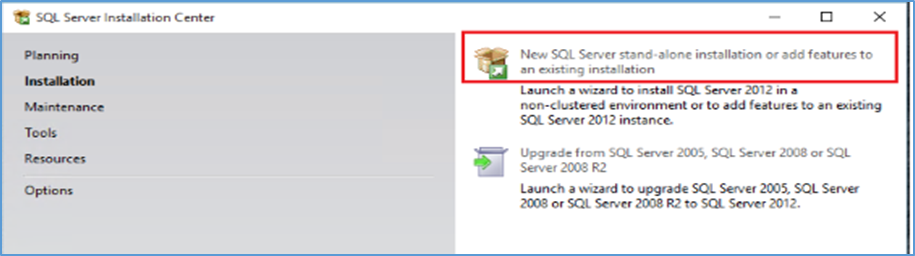
3. Select “New Installation” as below screenshot.
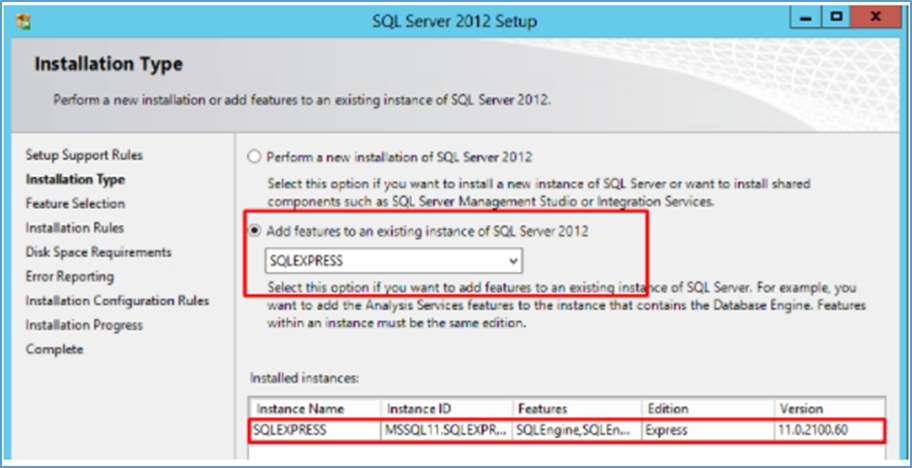
4. Select the SQL server instance that’s installed on the server. Select the option to Add features to an existing instance of SQL server. The installation will take the default SQL server instance that is already installed on the server so no need to make any changes with it. Click on Next.
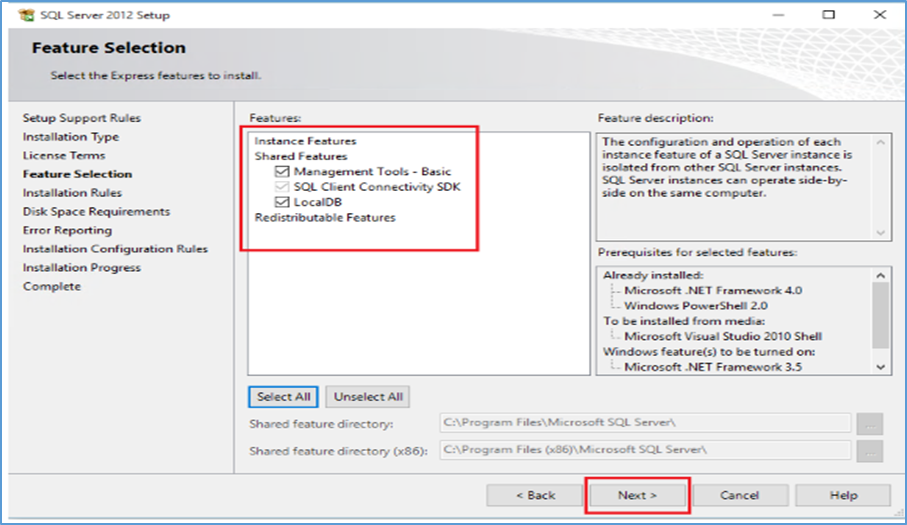
5. Select all the Check-Box to select everything and Click NEXT.
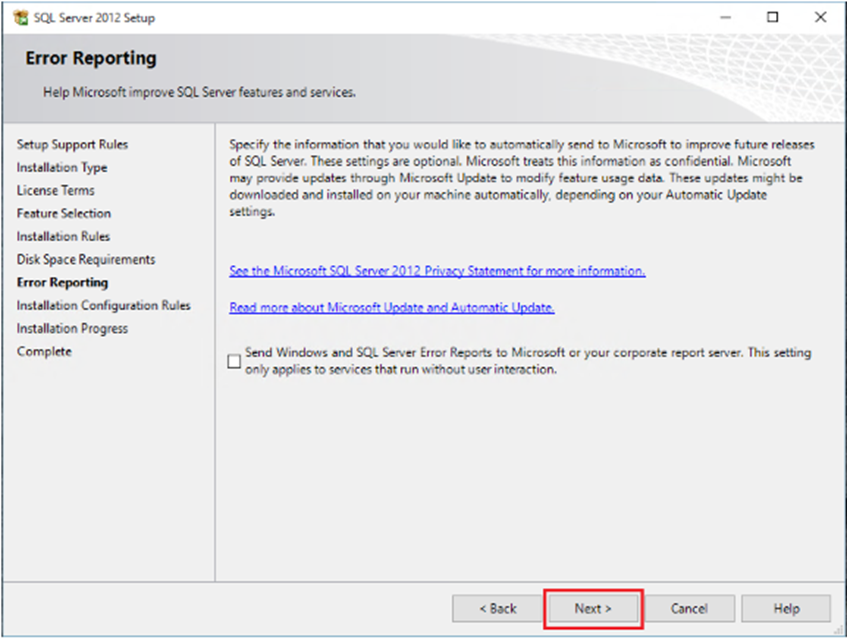
6. Click NEXT
7. Once you get successful installation like below, SQL Management Studio is installed in your PC successfully.
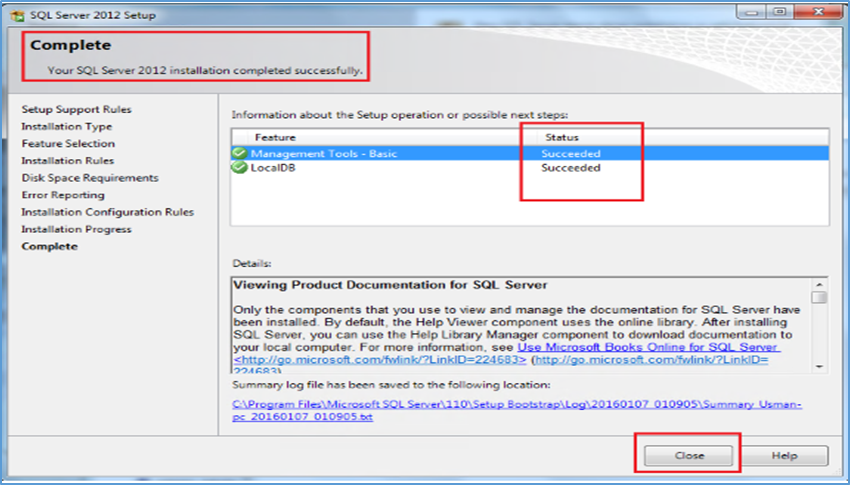
Congratulations! You have successfully installed the MS SQL on your Computer.