The following describes operations for VMware ESXi 6.0.3 and VMware ESXi 6.5 servers not managed by a cluster, and operations for vSphere Client servers managed by a cluster.
VMware ESXi 6.0
- Install VMware ESXi 6.0 or 6.5 and the NIC driver on a compute node, and install vSphere Client on a PC as the management terminal.
- On the System Customisation screen, choose Configure Management Network > Network Adapter.
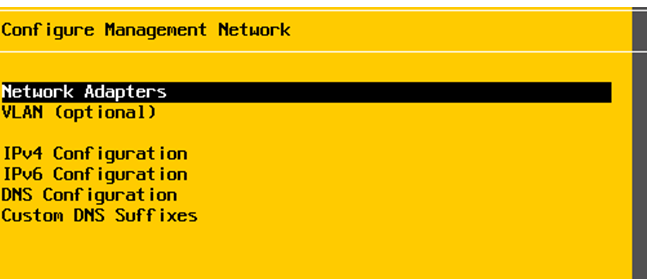
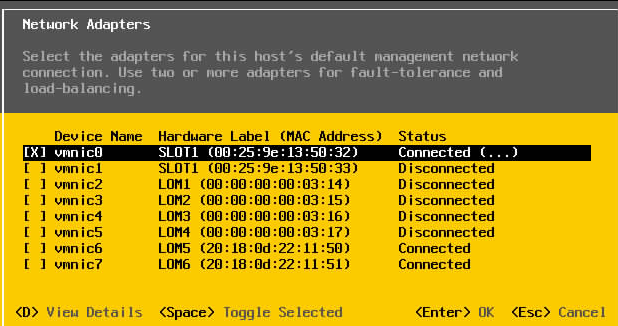
3. On the Network Adapters screen, select a vmnic for connecting to the management network and press Enter to confirm the settings and return to the Configure Management Network screen.
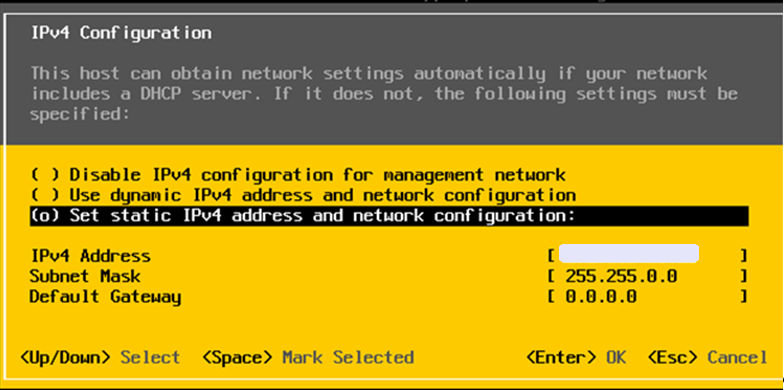
4. On the Configure Management Network screen, select IPv4 Configuration. On the IPv4 Configuration screen, set an IP address for the vmnic, press Enter to confirm, and press Esc to exit the settings and return to the Configure Management Network screen.
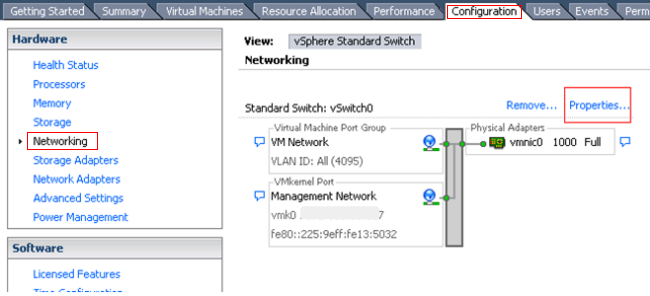
5. Start vSphere Client and choose Configuration > Networking > Properties to access the vSwitch configuration window.
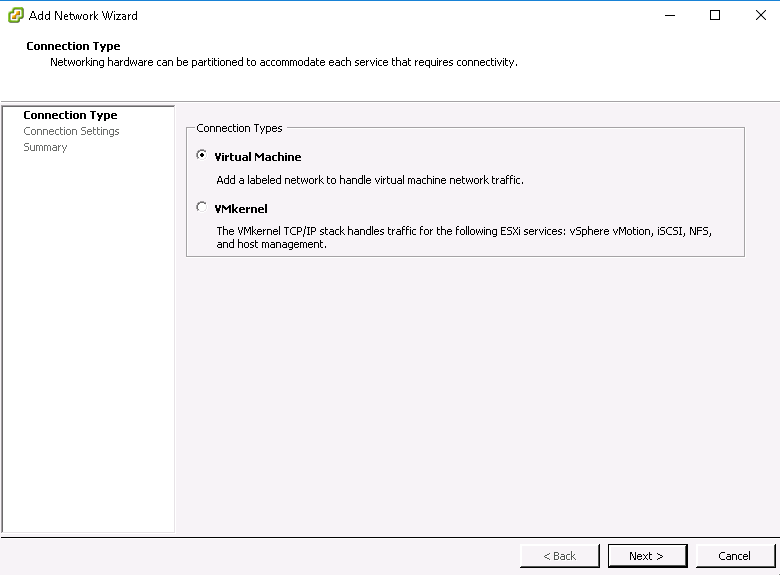
6. Set Connection Types to Virtual Machine and click Next.
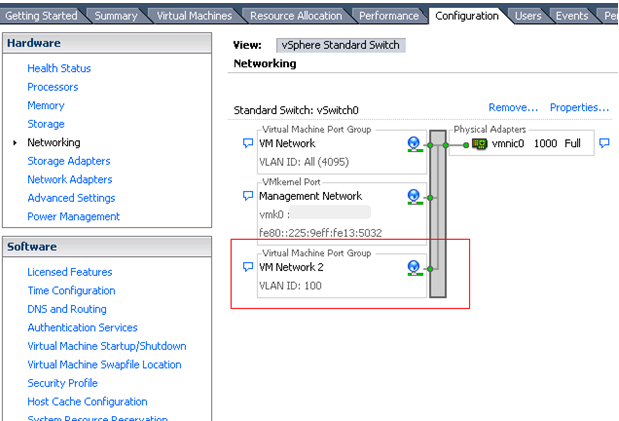
7. In the Connection Settings window, set Network Label to VM Network 2 and VLAN ID to 100 and click Next.
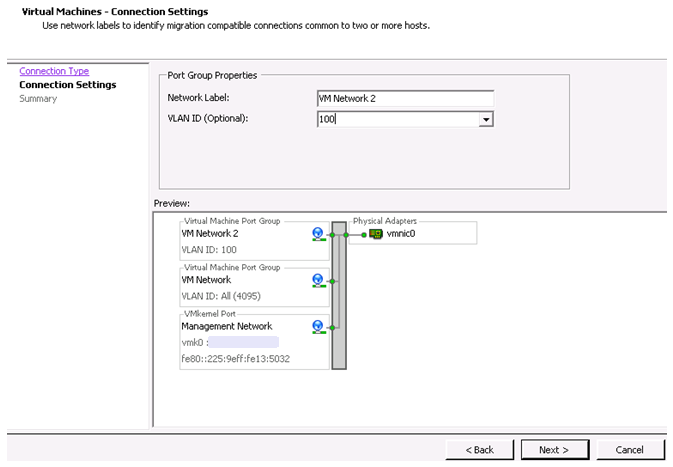
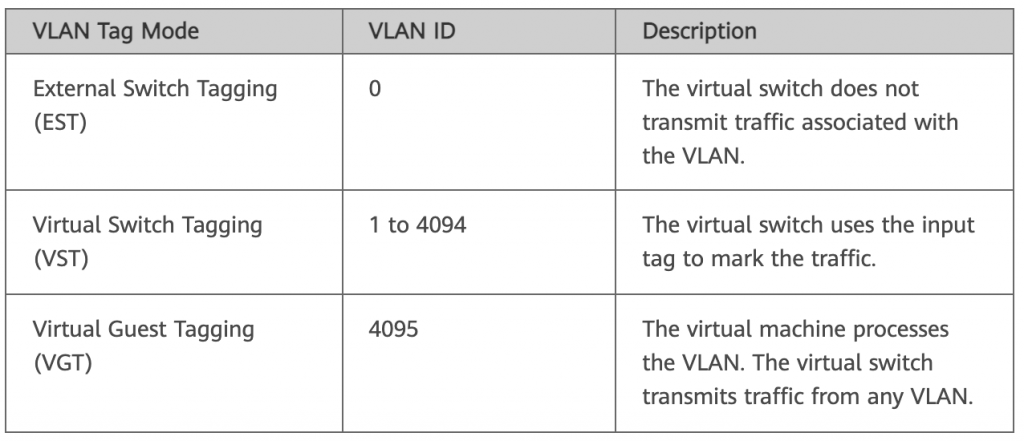
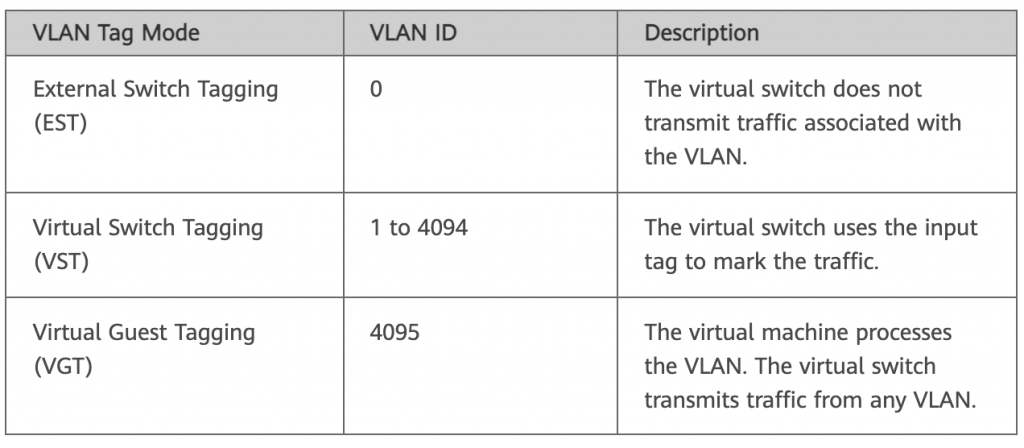
Table VLAN ID value description
8. After the configuration is complete, click Finish. Figure shows the VM port group for which the VLAN ID is configured
VMware ESXi 6.5
- Perform 1 to 4 for VMware ESXi 6.0 to configure the management network IP address.
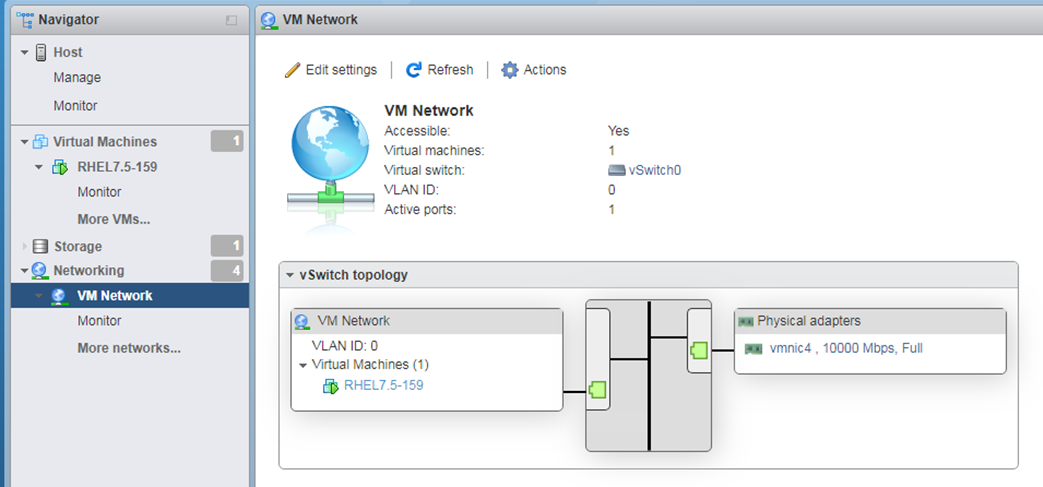
- Use a browser to log in to the management network IP address, enter the username and password to access the management page.

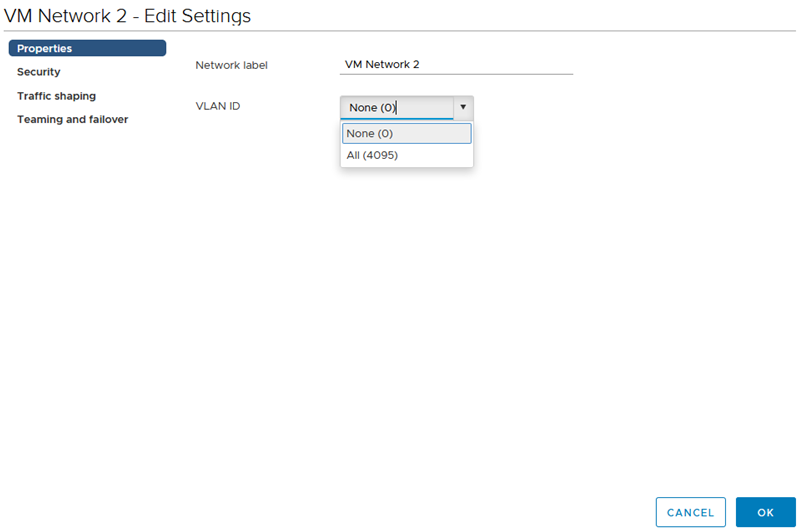
3. In the left navigation pane, choose VM Network, and click Edit settings in the right pane.
4. In the displayed dialog box, enter the VLAN ID and click Save.
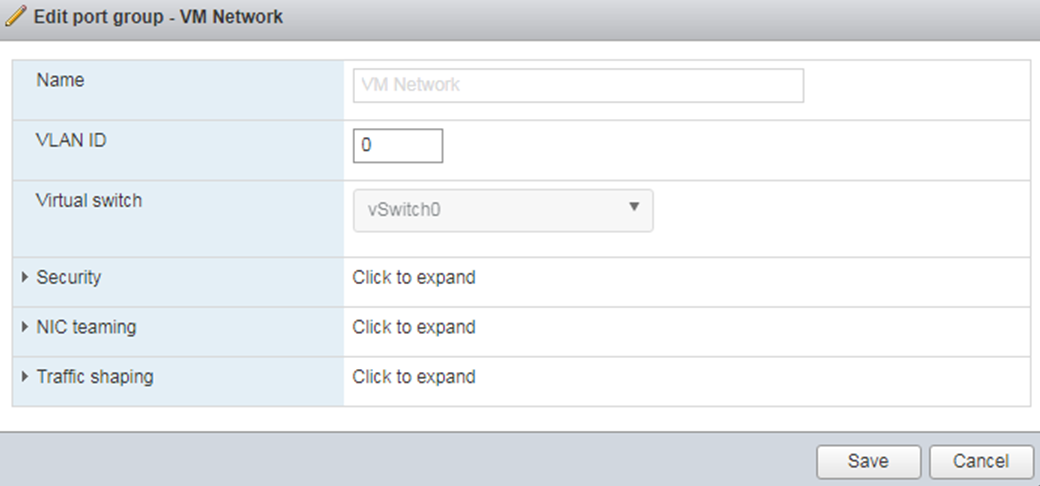
Table shows VLAN ID values descriptions
vSphere Client
- Use a browser and the vSphere Client IP address to log in to vSphere Client.
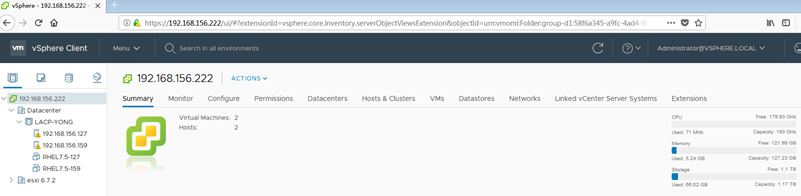
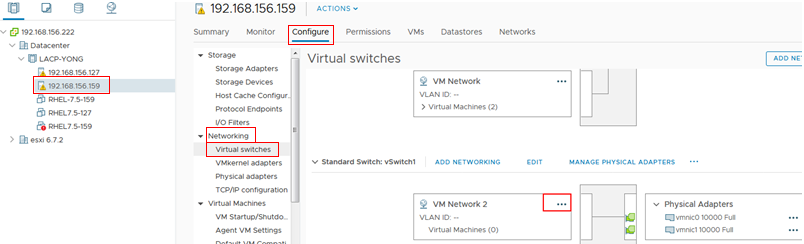
2. In the left navigation pane, select the host to be configured. In the right pane, click the Configure tab, choose Networking > Virtual Switches, locate the switch port group to be configured, and click …
3. Choose Edit from the shortcut menu.
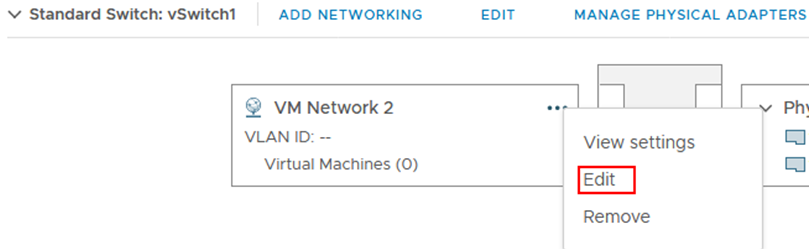
4. In the Properties settings, configure VLAN ID and click OK.