


Microsoft distributes the last upgrades of Windows 10 builds in the install.esd format. During the installation of Windows, all files are unpacked from the install.wim / esd image to the system drive of the computer. The problem is that a lot of users using WDS to push out their images. Install.esd and install.wim are archives containing compressed operating system files, and they can include several Windows editions (Professional, Education, Enterprise etc.)
1 – Open your File Explorer, Go to Windows 10 ISO image then Go to Sources, find install.esd

2 – Open PowerShell as Administrator

3 – Each edition of the OS is stored in the file install.esd and has assigned a serial number – an index (index 1, 2, 3, 4 etc), which can be viewed using the DISM tool. You can get information about your ESD file using the following command:
dism /Get-WimInfo /WimFile:D:\sources\install.esd

4 – Note Index: for the version you want to use:
Eg: Number is 8
Index: 8
Name: Windows 10 Education
Description: Windows 10 Pro
Size : 16,001,108,691 bytes

5 – Find index number that you need (we are choosing Index 8 because it is a Windows 10 Pro version).

6 – Convert to WIM, But be sure to use the correct Source Index number
dism /export-image /SourceImageFile:D:\sources\install.esd /SourceIndex:8 /DestinationImageFile:c:\install.wim /Compress:max /CheckIntegrity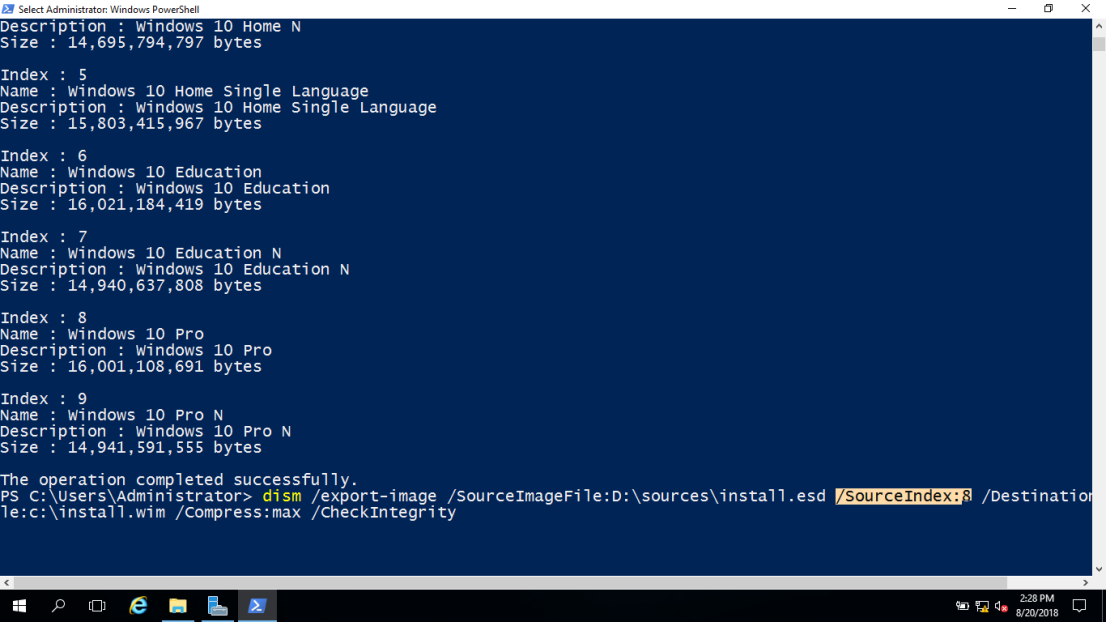

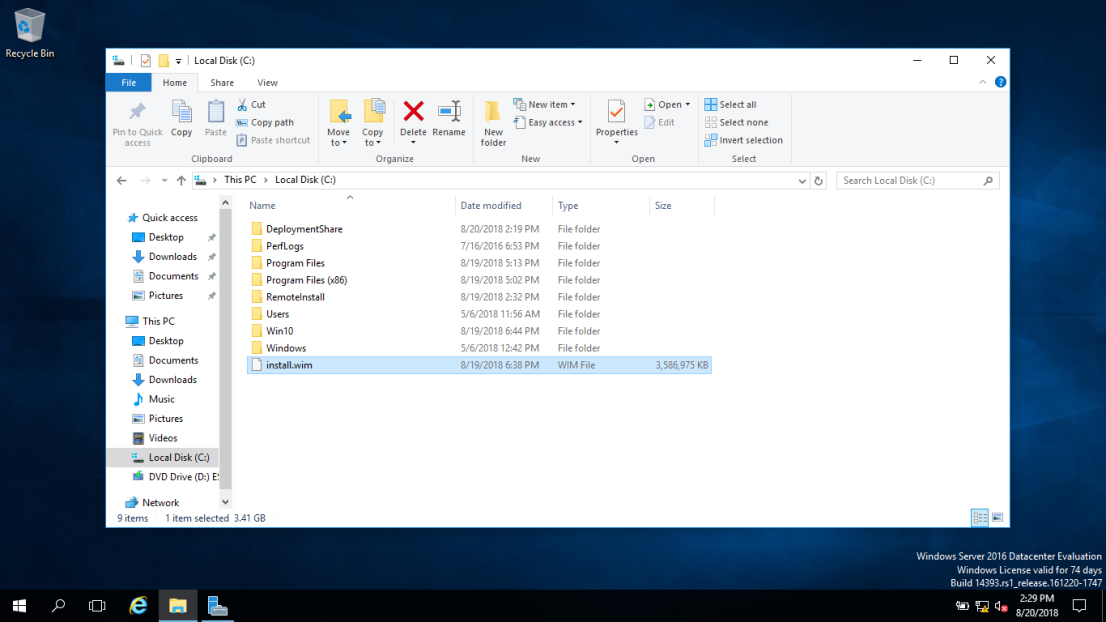
7 – Image exporting is started and this process can take a long time. once ESD conversion is completed, you can copy your new WIM image file and then go to Windows 10 original folder, then to Sources and replace install.esd file.

Good luck!