Reverse DNS zones perform the opposite task as Forward Lookup Zones. They return the fully qualified domain name (FQDN) of a given IP address. For example, a client device could send the IP address of 192.168.1.100 to a DNS Server. If the server hosted a reverse zone that included that IP address, it would return the FQDN for that address, such as mail.mushaaf.com.
Open “Server Manager Dashboard” Click on tools then select “DNS” to continue.
Right Click on “Reverse lookup Zones” and click on “New zone”.

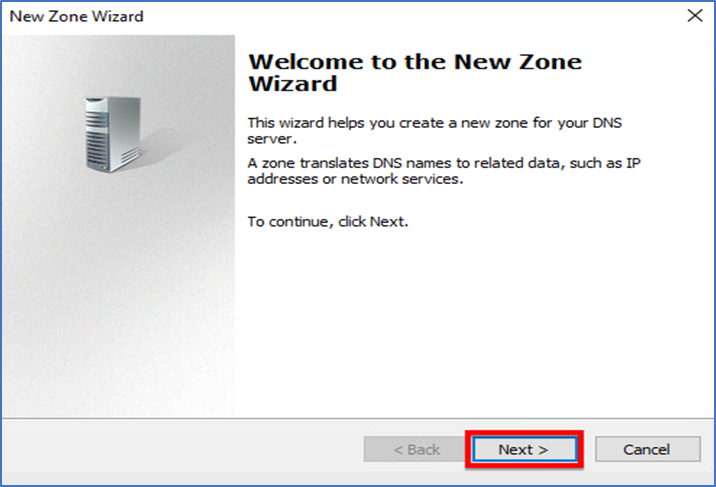
Click “Next” to continue the New Zone wizard.
Select the “Primary zone” and click “Next” to continue.

Now select the “IPv4 Reverse Lookup Zone” and click on “Next” to continue.

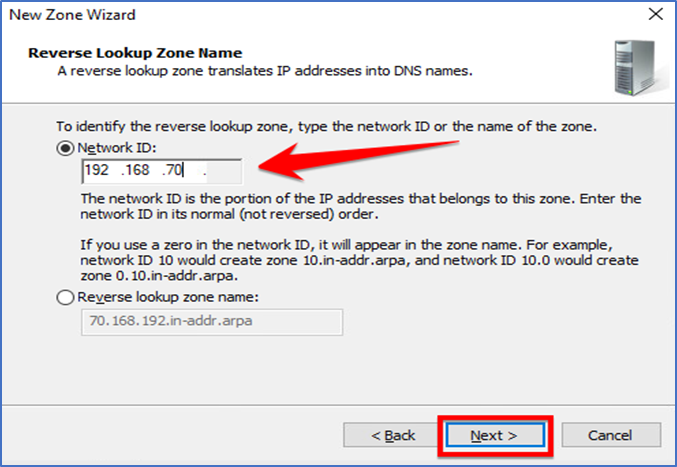
In this step, you can either enter “Network ID:” or Reverse lookup zone name. Explanations are on
the same window for clarity and click Next to continue.
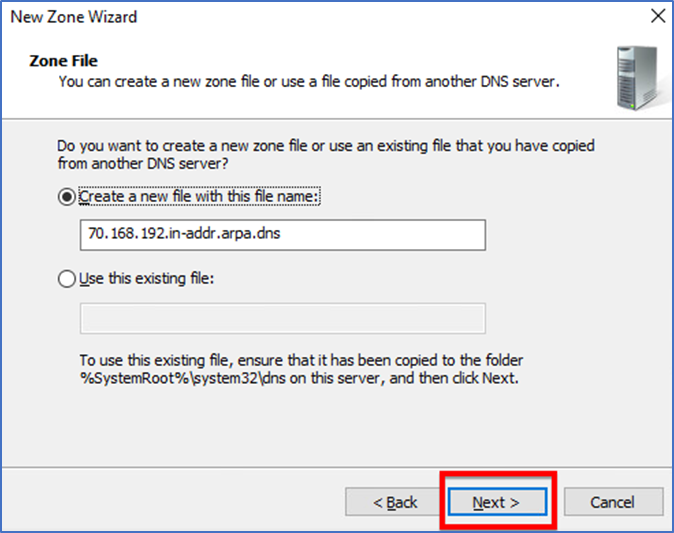
The auto-created file name is sufficient for this step. You can leave it that way not unless you really need to change it and continue to “Next”.
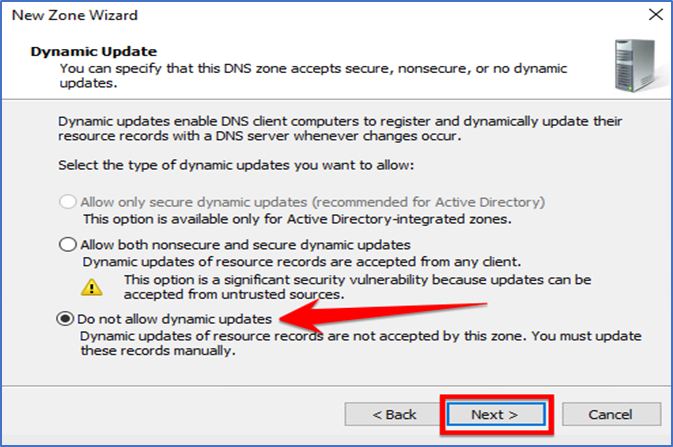
Select the “Do not allow Dynimaic updates”and contine to next.
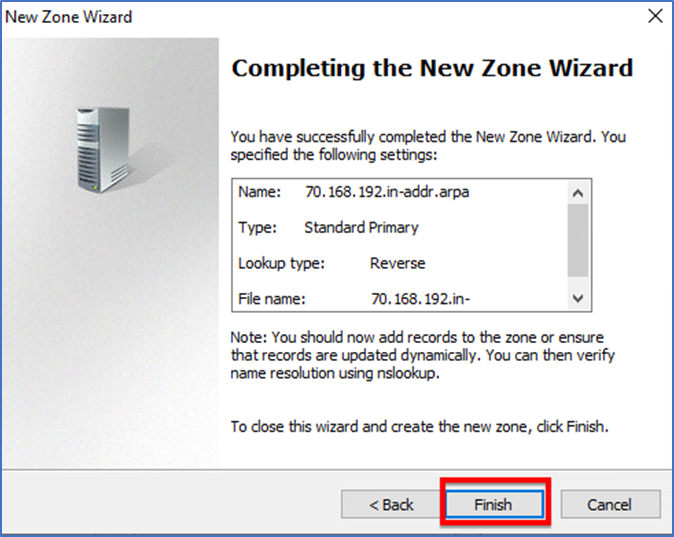
Click the “Finish” and lets Completing the new zone wizard.
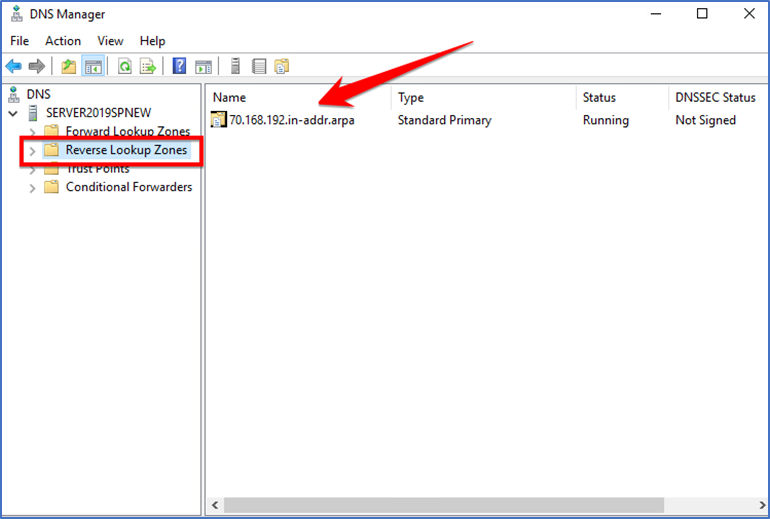
Go over to “DNS Manager” and check your “Reverse Lookup Zones” if what we have configured is added.