In this article am going through steps to install Mac OS on VMware workstation and It recommended to user VMware workstation instead of Virtualbox because it is quicker and faster. VMware is a virtualized tool to create multiple VMs on same single operating system. By default VMware doesn’t support Mac OS but we can use the Unlocker tools to enable the MAC OS on windows virtualization.
Requirements:
ISO image of MAC Mojave
Minimum RAM 2GB
Minimum 2 Processors
Hard Disk 40 GB
Download the required applications
VMware Workstation PRO 16
https://www.vmware.com/au/products/workstation-pro/workstation-pro-evaluation.html
Download MAC OS Mojave
http://www.mediafire.com/file/pph3v402wi4vjo0/macOS_Mojave_10.14.6.iso/file
Unlocker master
https://drive.google.com/file/d/1uLj32QB6SGlkudpH2fjFMJZwdXghJ8tQ/view
Unlock VMware to install Mojave
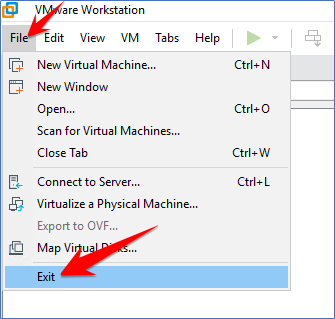
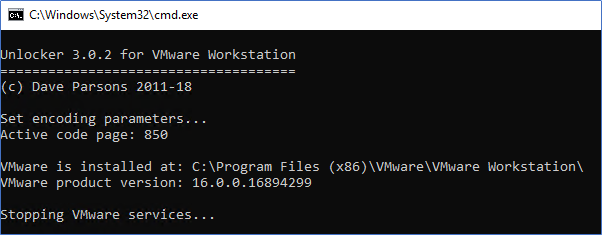
First verify that VMware application is closed otherwise Unlocker won’t work.
Extract the Unlocker Master and run “win-install.cmd” as Administrator
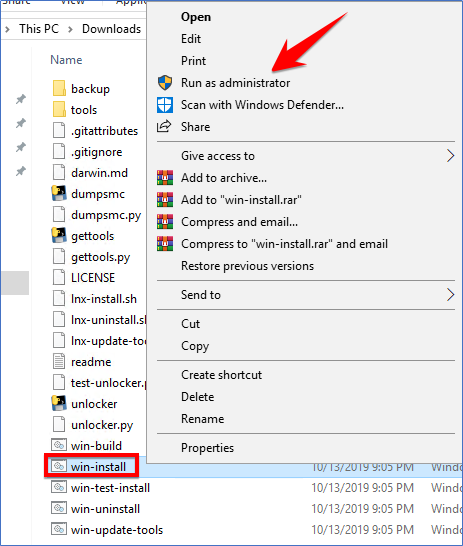
This will stop the VMware services and download the patches for Mac OS.
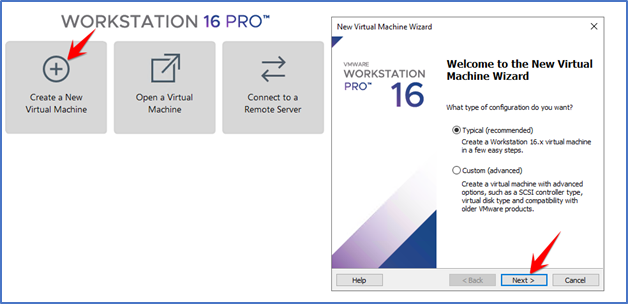
Create New Virtual machine
Attach ISO Image and click Next
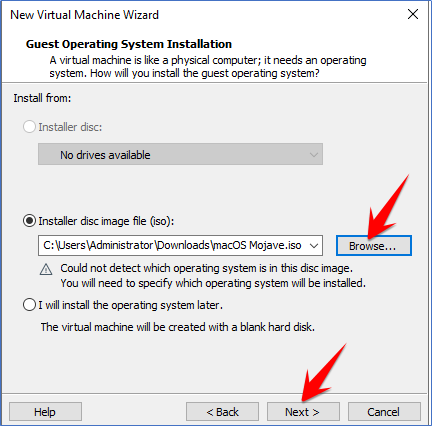
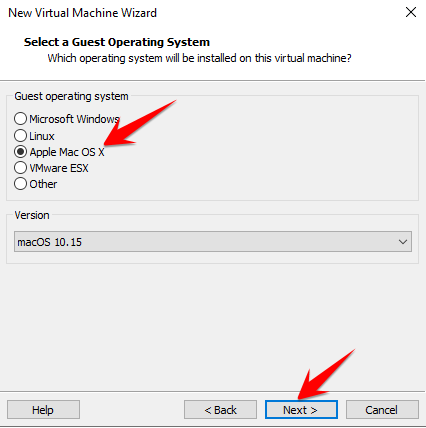
Select guest operating system
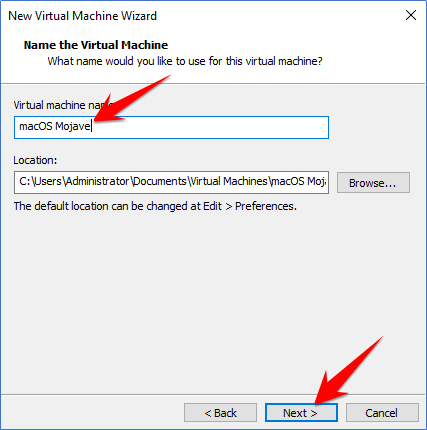
Enter Virtual machine Name and Click Next
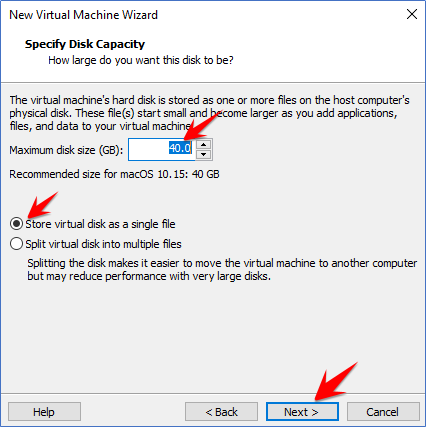
Select Store Virtual machine Disk as a single
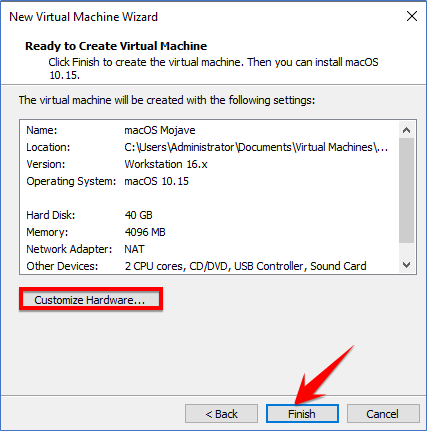
Select maximum disk size and Click Next
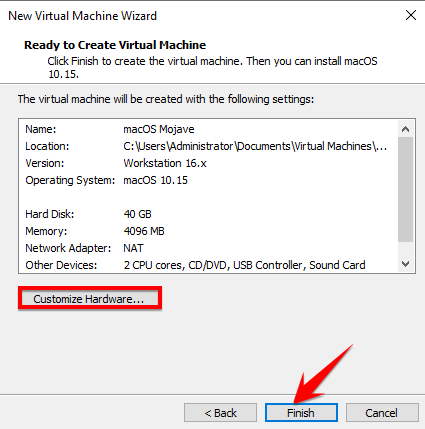
We can customize the hardware if needs
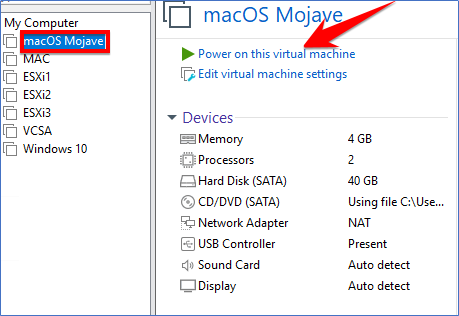
Power on Virtual machine
If your VM is unable to boot then Power Off VM, go to VM path and open “MAC OS Mojave vmx” file in Notepad
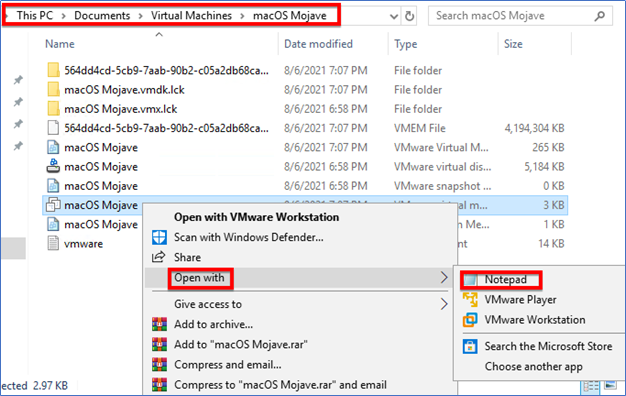
Enter the following code lines at the end of Notepad file
smbios.reflectHost = “TRUE”
hw.model = “MacBookPro14,3”
board-id = “Mac-551B86E5744E2388”
smc.version = “0”
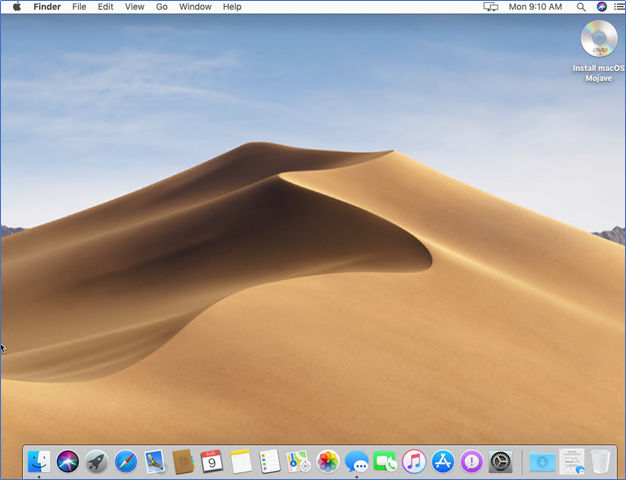
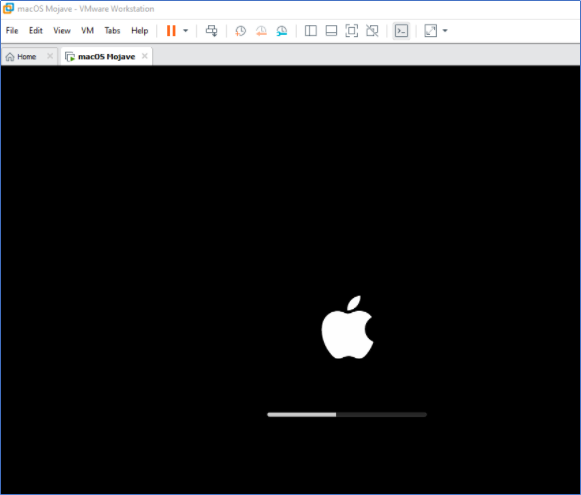
Powered on VM again and this will boot automatically
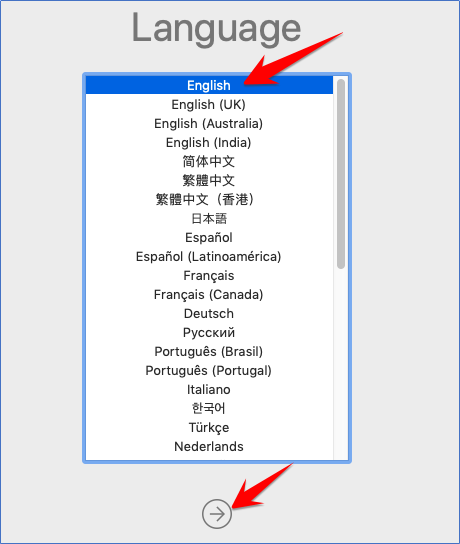
Select Language and Next
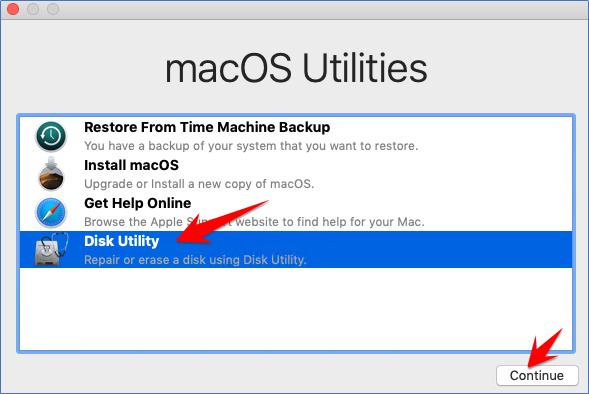
Select Disk Utility and Continue
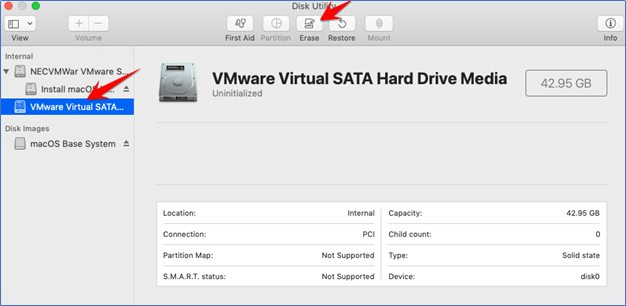
Select VMware Virtual SATA Hard Drive Media and click Erase
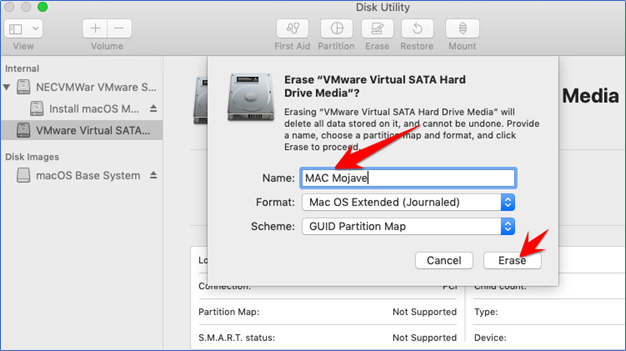
Give friendly name and click Erase
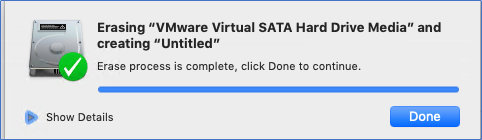
Wait till we get below message, click Done and close this Window
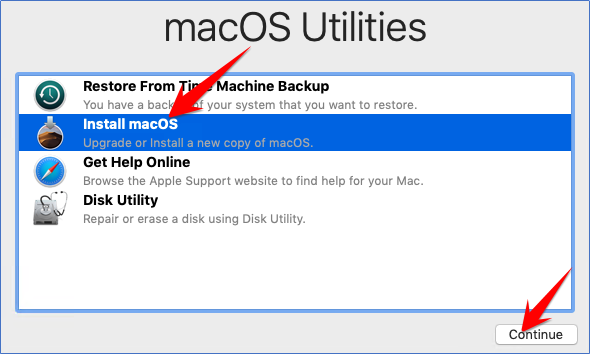
Select MAC OS Utilities again and click on Install macOS
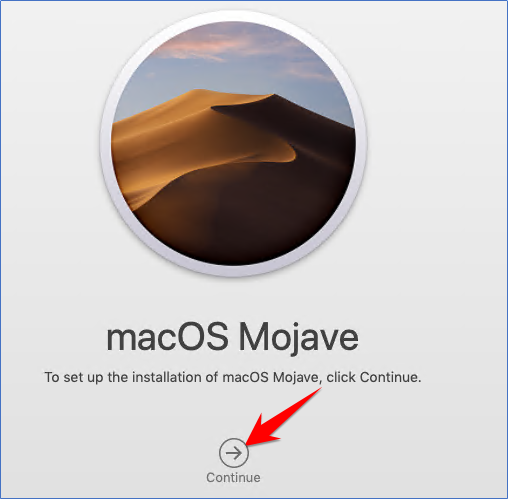
Click on Continue
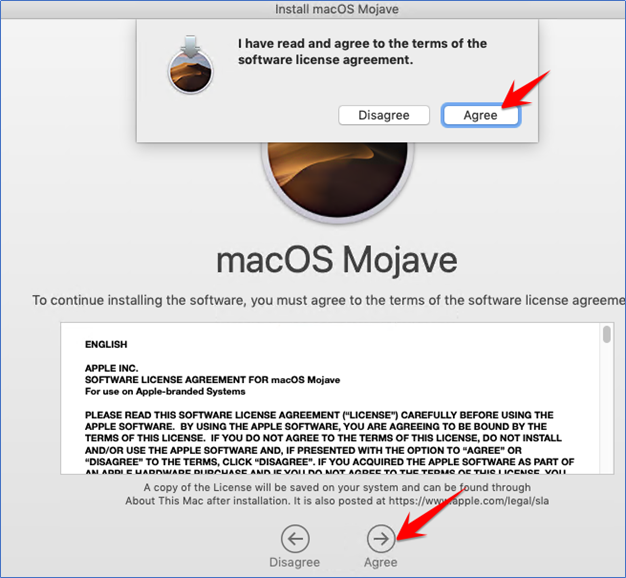
Accept License Agreement
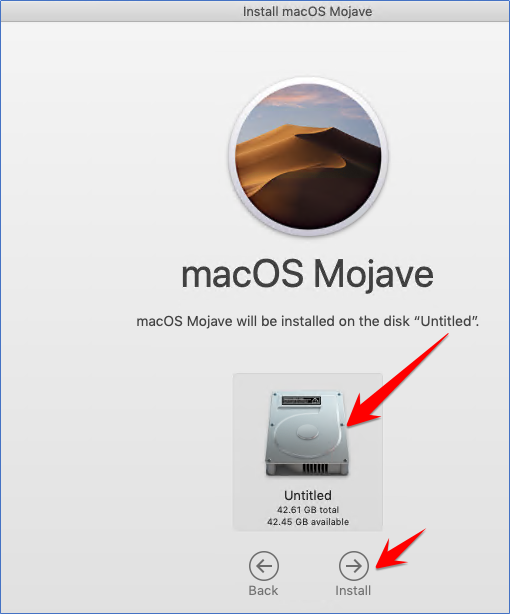
Select Disk and click on Install
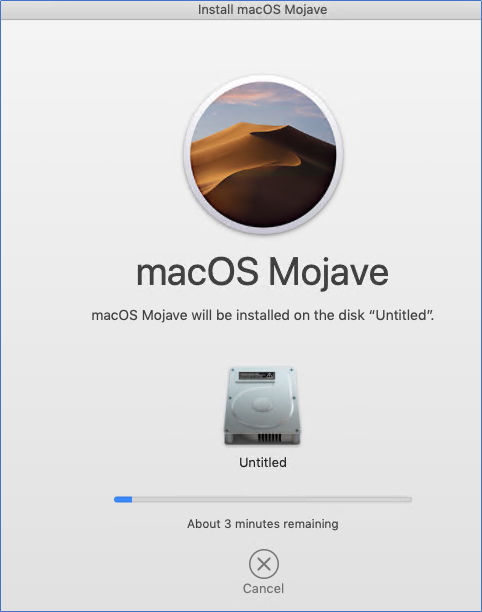
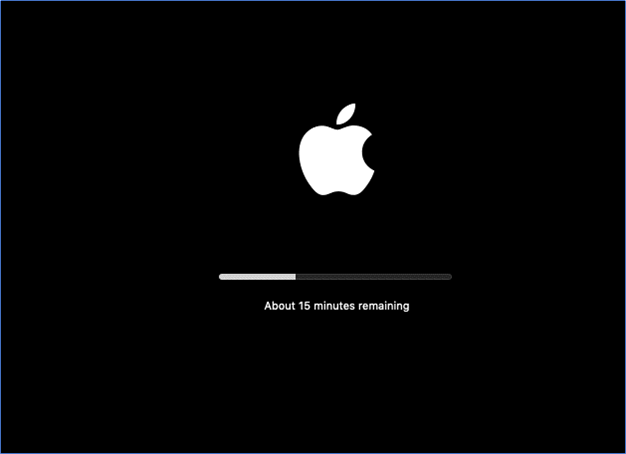
Installation has been started and will take few minutes to complete
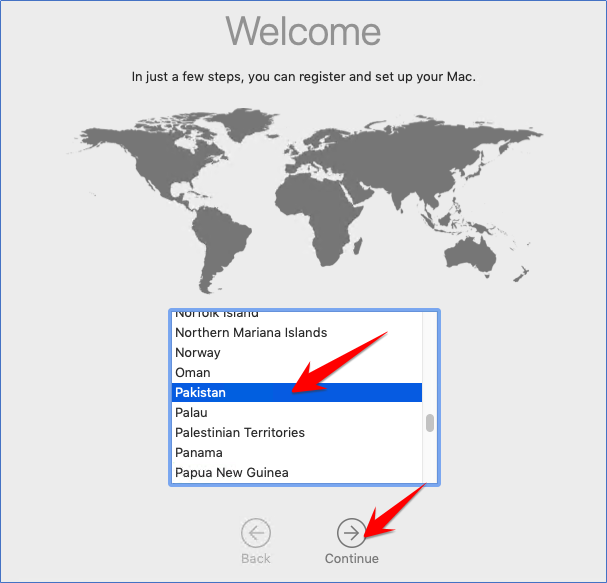
Select Country and Click Continue
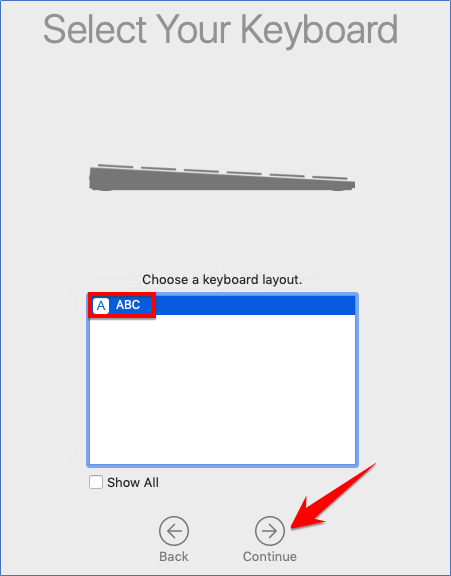
Select Keyboard layout

Select Keyboard layout


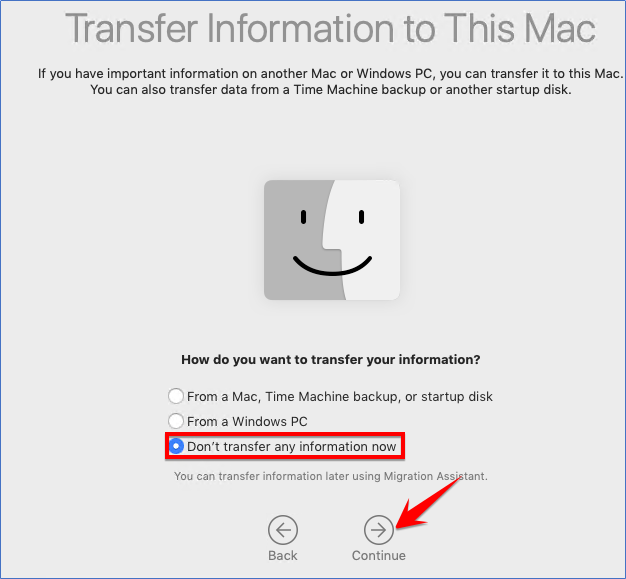
Select Transfer Option and click Continue
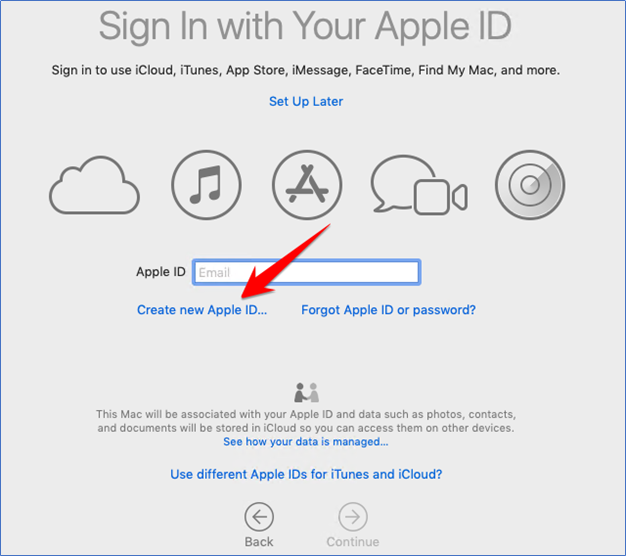
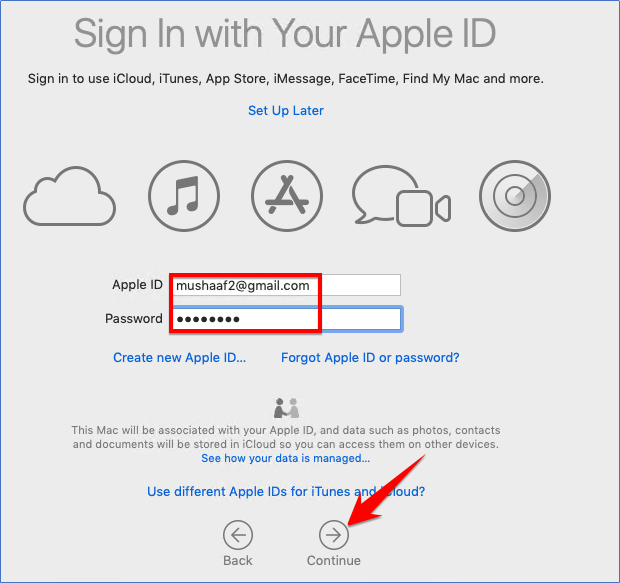
If you have Apple ID already then sign in otherwise you can create new Apple ID.
We already have Apple ID and will be going to use that one.
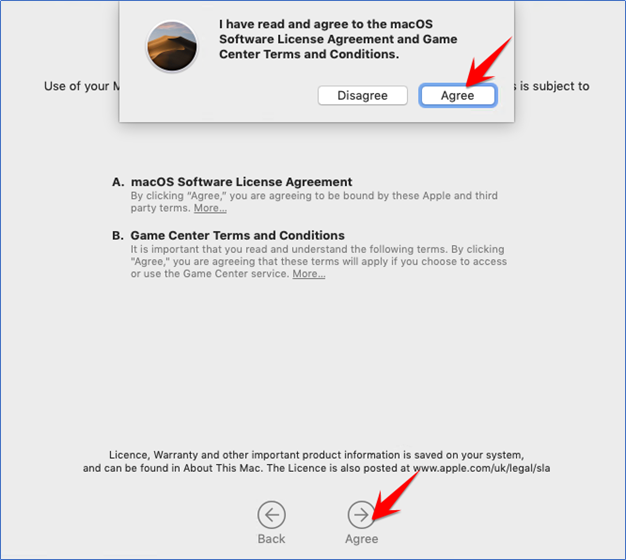
Accept Terms and Conditions and click Continue
Create a Computer Account

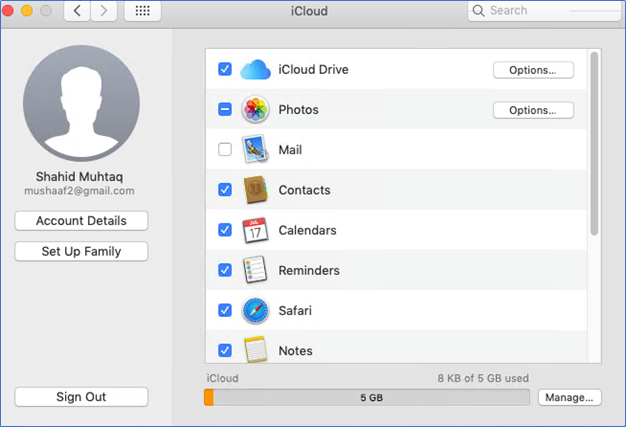
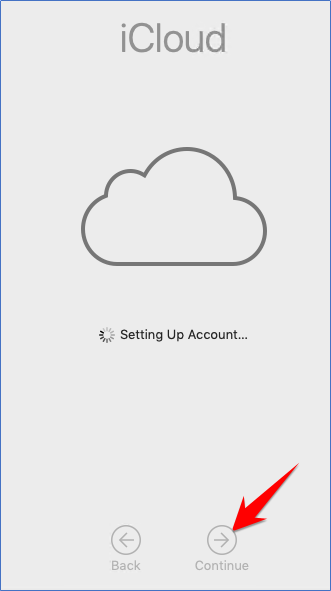
Setting up iCloud Account
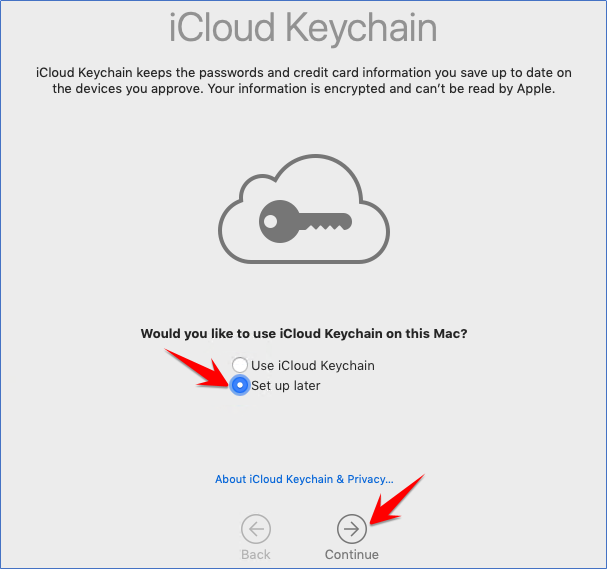
We can setup iCloud Keychain later on
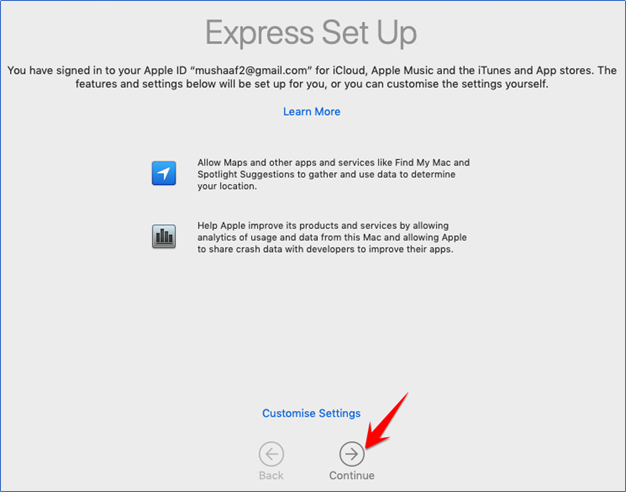
Express set up

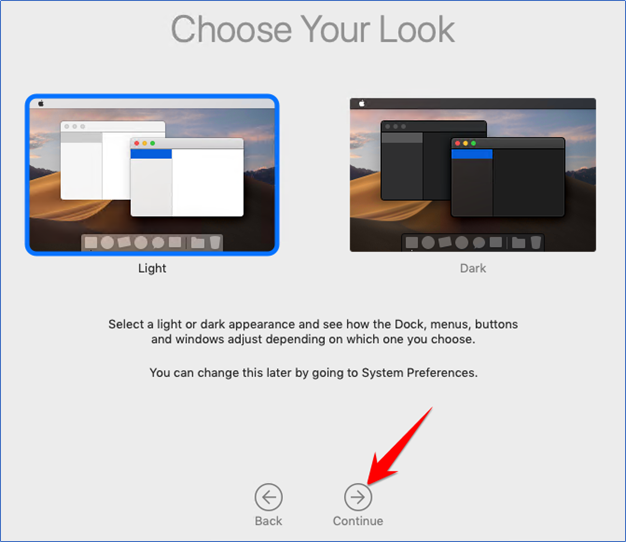
Choose Your Look
Verify your Apple account