By default, retention policies do not apply to other folders in the inbox (except for Deleted Items and Junk). However, the user can manually set retention tags for certain folders. For example, a user wants to automatically delete old messages from the Newsletter folder after one year. He can manually set the Retention/Archiving Tags for email items in your Office 365 mailbox.
1- Logon into your Microsoft Office 365 account on the https://portal.office.com/
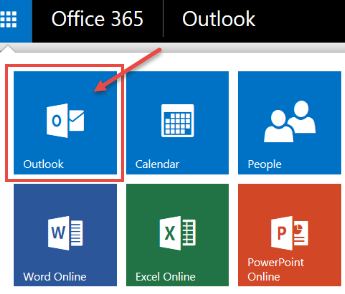
2- Select Outlook in the App Launcher
3- In the interface of your mailbox, right-click on the folder or email message for which you want to change Retention/Archive settings
4- Select a policy from the list. Keep in mind that by default the Retention policy settings are inherited from the parent folder (Use parent folder policy)

If none of the default retention policies suits you, then create your own custom retention policies with the parameters you need:
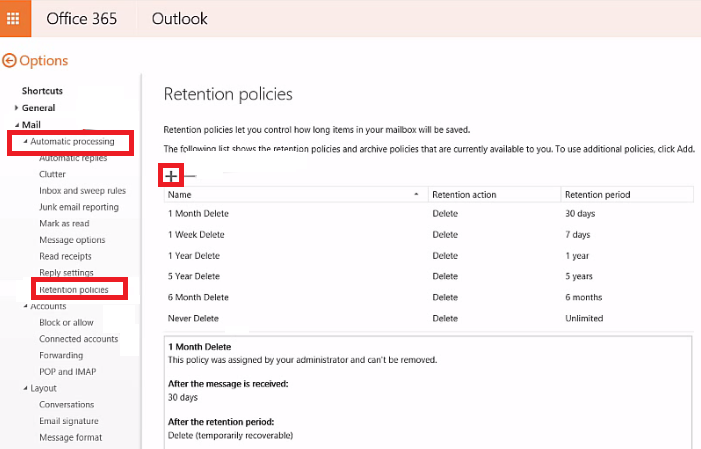
1- Select Settings > Options. Go to Automatic processing > Retention policies
2- Click the + button and create your own custom retention policy with the parameters you need
3- After that, you can apply your custom retention policy to the required items in the Inbox folder of the Office 365 mailbox.
The Office 365 administrator can create custom Retention tags and Retention Policies and assign them to user mailboxes.
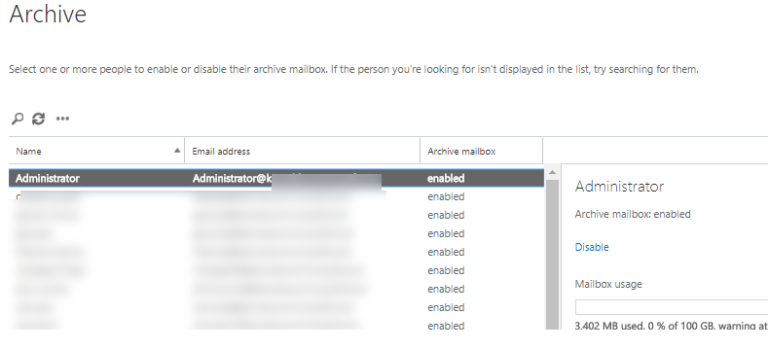
1- In order to use some Retention Policies, you need to enable users’ archive mailboxes. Go to Office 365 Security & Compliance Center > Governance > Archive
2- Select the user mailboxes for which you want to enable archive mailbox and click the Enable button on the right sidebar
3- Now go to Exchange Admin Center > Compliance Management > Retention Tags
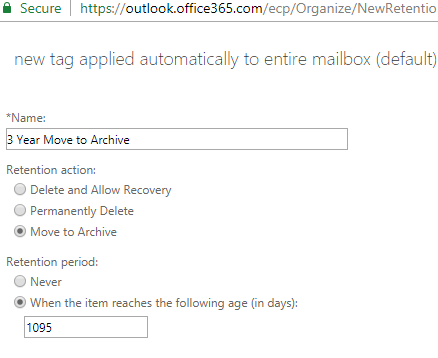
4- Create a new Retention Tag with the required parameters (+ > select applied automatically to the entire mailbox). For example, we have created a tag named “3 Year move to archive”, Retention action > Move to archive; Retention period > when the item reaches the following age (in days) > 1095;
5- Then go to Exchange Admin Center > Compliance Management > Retention Policies. Press the + button
6- Name the Retention Policy and add retention tags you want to apply to user mailboxes

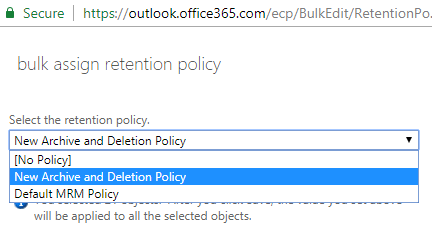
7- Then you need to assign the policy to User Mailboxes. Go to Exchange Admin Center > Recipients > Mailboxes. Select the mailboxes for which you want to apply policies, click More options > Update for Retention Policy. In the drop-down list of the Bulk Assign Retention Policy form, select a new retention policy you created earlier